Hi Everyone! Just a quick note to introduce you all to another of my fabulous contributors!! This is Michelle from Michelle Lea Designs and she has an amazing blog and I know you will all love her stuff! You can follow her on —-> Instagram
Hello! I’m Michelle from Michelle Lea Designs. A Southern girl and military wife who loves to blog about photography, organizing, design, crafts and the crazy little adventures of our family of 5. I am so honored and excited to be visiting on Parrish’s fabulous blog!
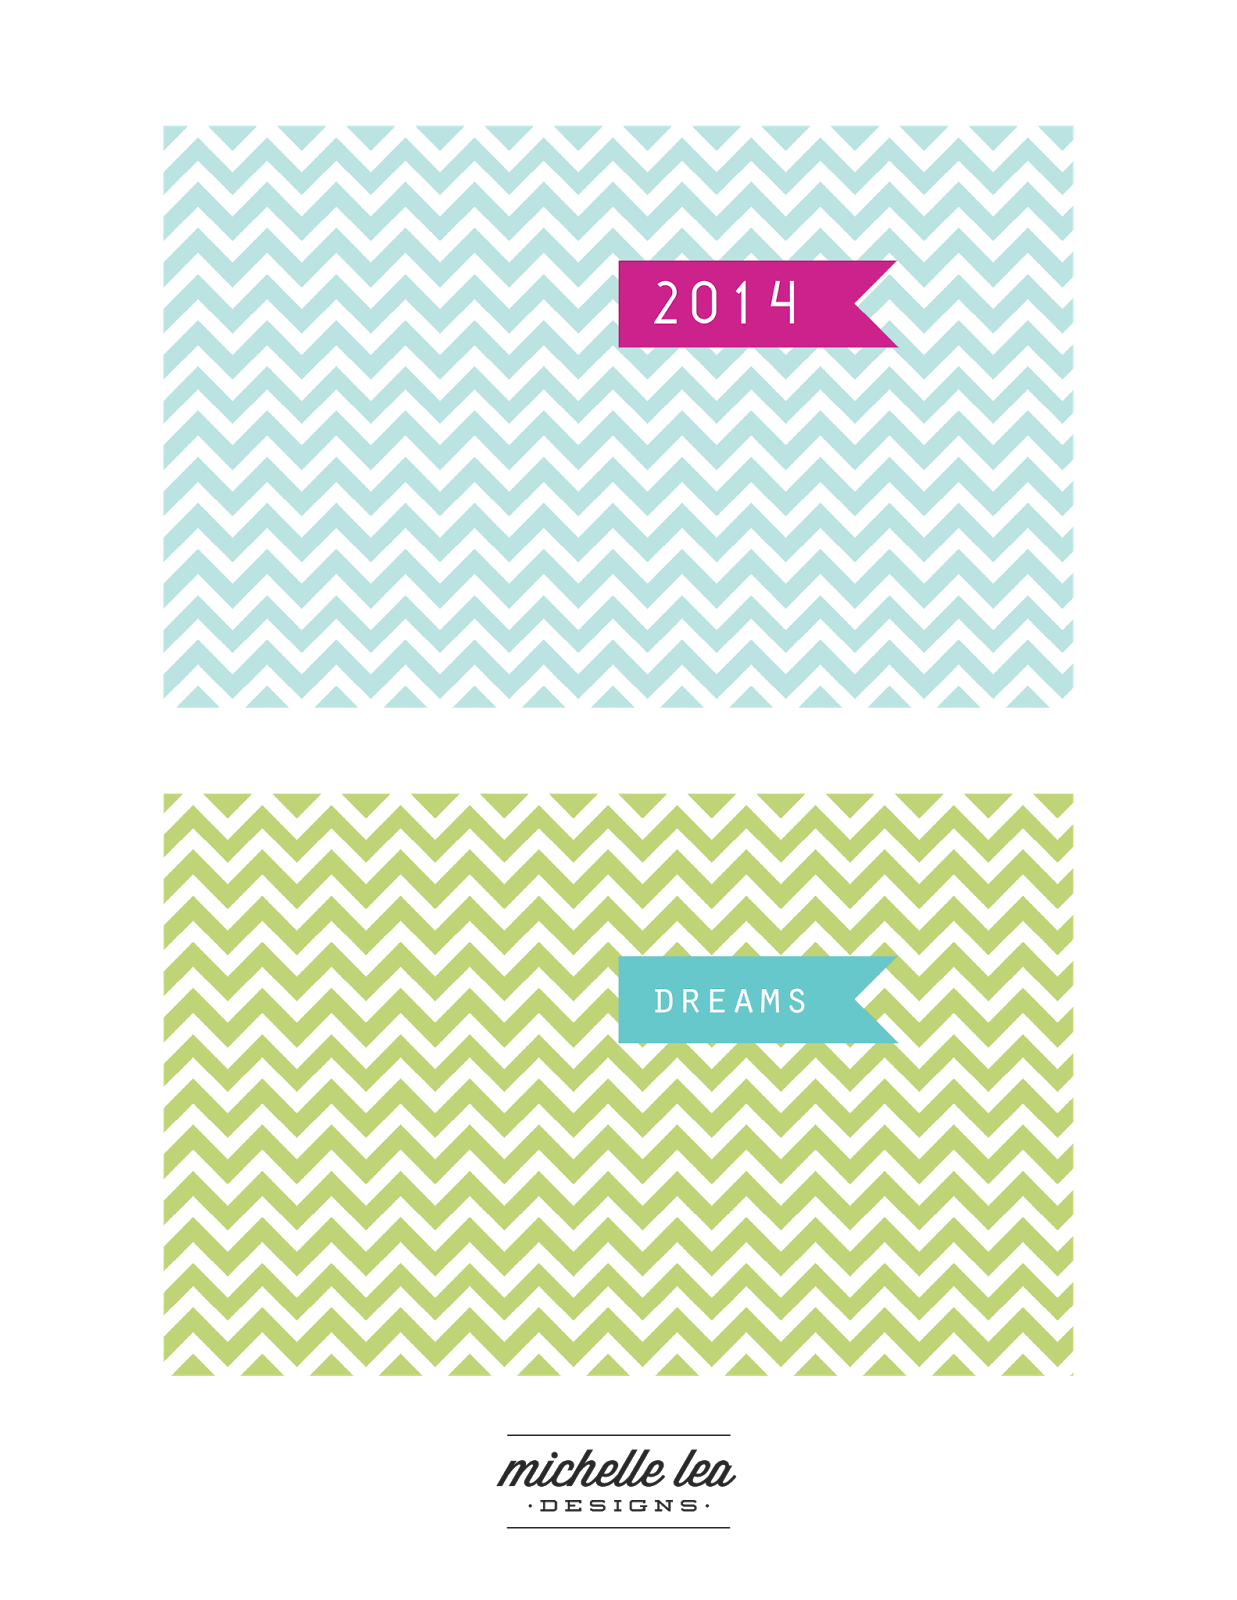
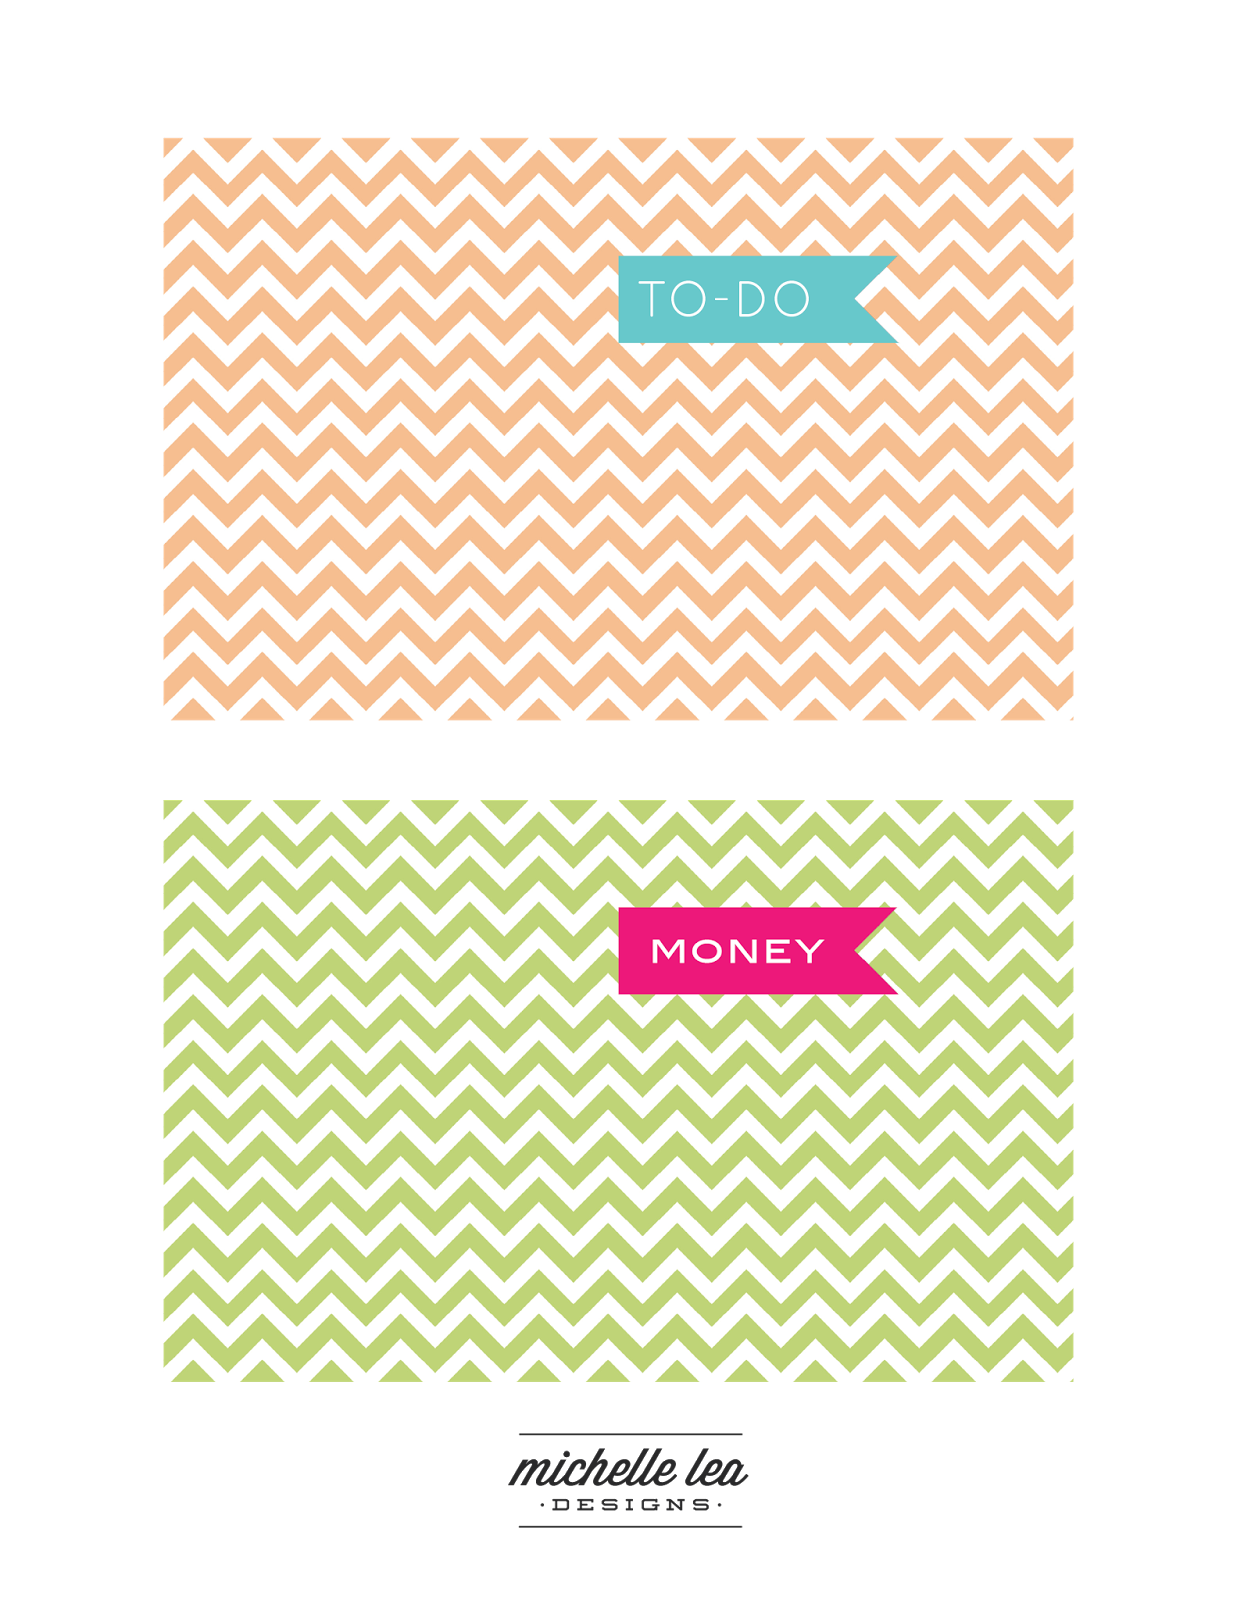
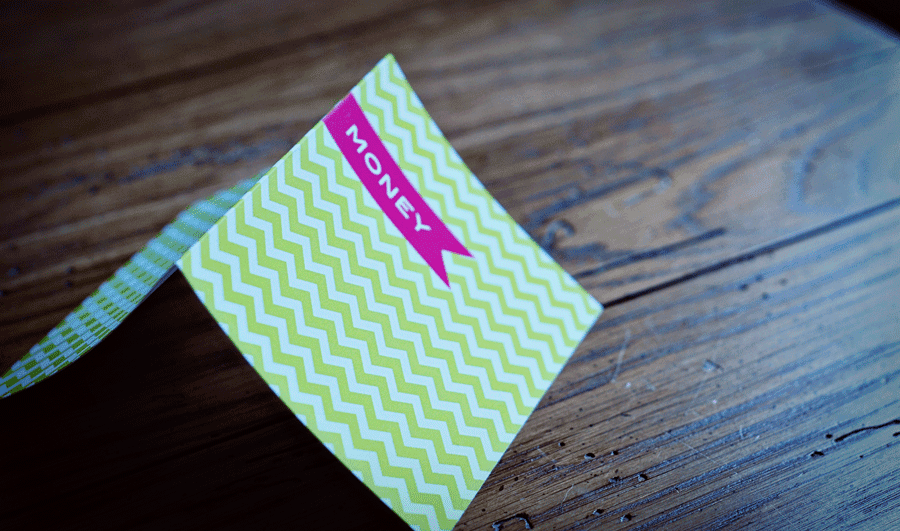
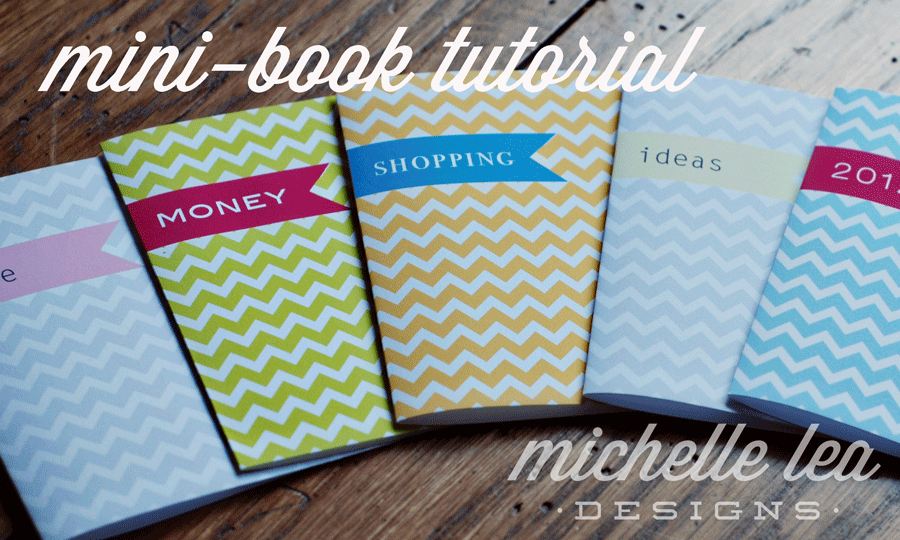
Today I am sharing a tutorial for the cutest mini-books. You will find 8 cover designs to choose from.
These journals work great for teacher gifts, mother’s day, places for the kids to doodle, or to throw in your purse to keep track of ideas or the monthly budget. I hope that you enjoy your books. I would love for you to stop by Michelle Lea Designs and say hi or follow me on Pinterest.
On to your supplies list…
Supplies:
Paper Cutter
Scoring blade (optional)
Printer
Printer paper (I like a brightness of 92 or higher and I like a little heavier paper ~26lb)
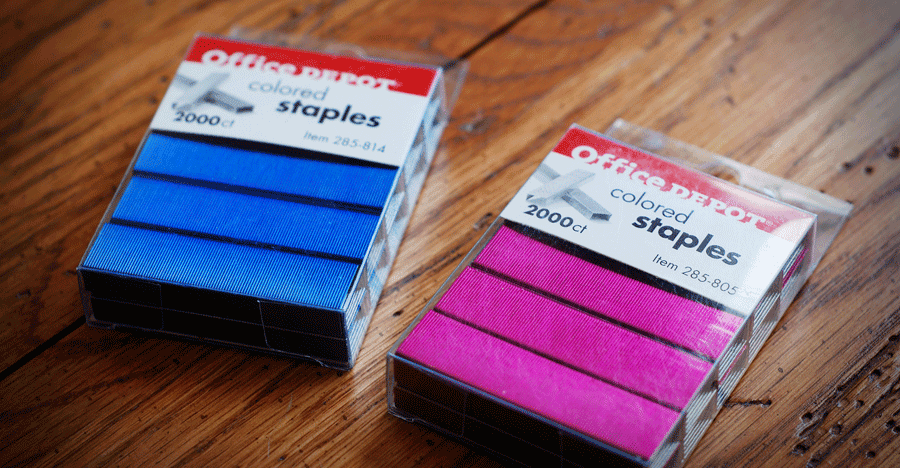
Staples (you can get awesome colored ones as well)
Cute clear baggies or other wrapping supplies (optional)
Downloads
First download the book covers that you want to make. Just click on the picture and it will take you to the pdf link
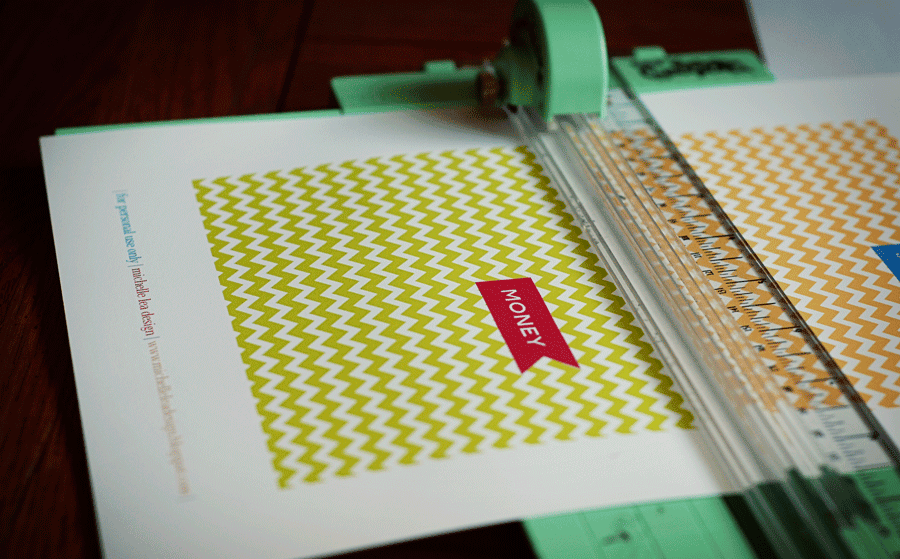
Cutting/Scoring
Now it is time to cut out your book covers. You will want to trim flush against the edge of the mini-book design. I use a Cutterbug paper cutter, but you can use any brand. It is easier to use one made for 12-inch paper. You can also just use old-fashioned scissors if you cut better than I do.
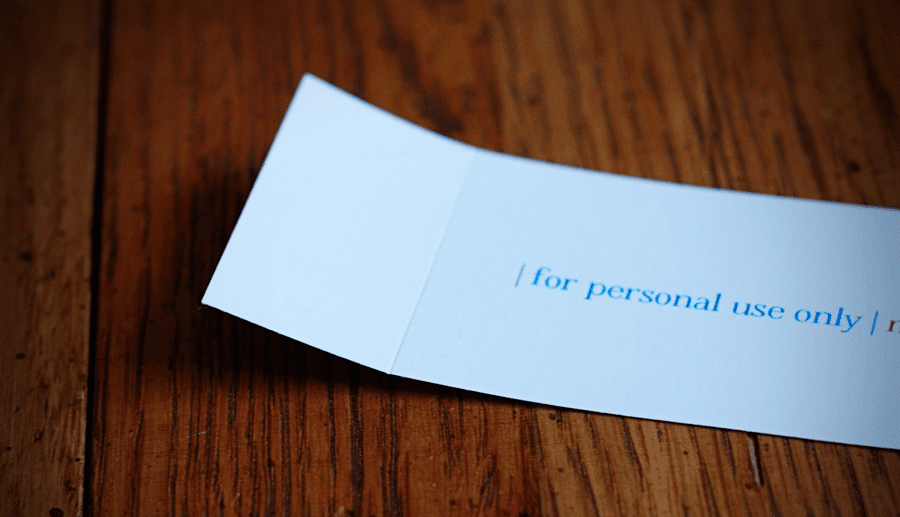
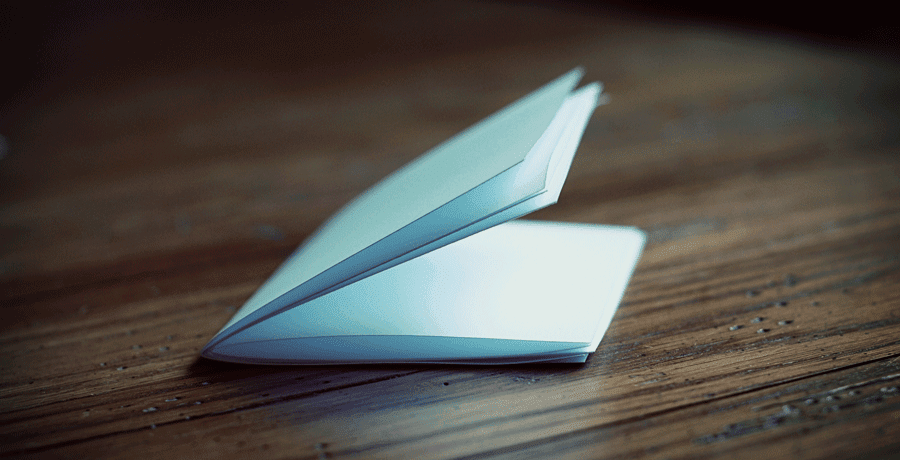
Once you have them cut out, it is time to fold them in half. I like to use a scoring blade. Scoring keeps your paper from feathering and gives a cleaner look. But you are more than welcome to fold with your hands :) as well. You can find these blades to go with your paper cutter. The one for cutterbug is pink instead of green.
You will score at the 3 1/8″ mark. This photo shows you how scoring will make your paper look. You will score on the inside of the book cover because the paper will bend toward you when using the scoring blade.
Your completed book will measure 3 1/8″ x 4″.
Next, you will cut the blank pages for the inside of your book. You will need to cut your inside pages to measure 6 1/4″ x 4″. You can cut as many of these as you want. Just remember that you will have to staple through them all. You may want to use a thinner copy paper on the inside. Thinner than what you use for the cover. Stack them on top of each other and fold them (folding them individually will be easier)
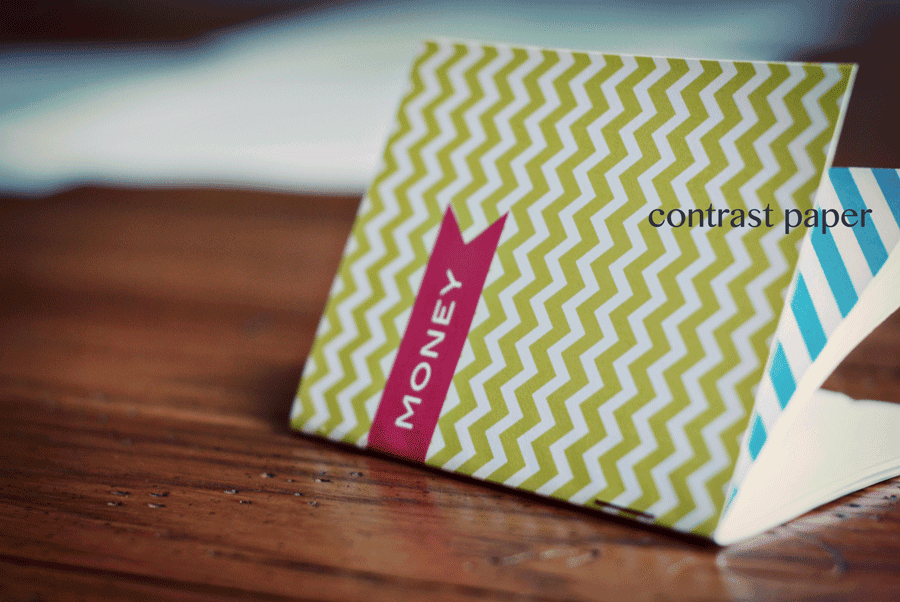
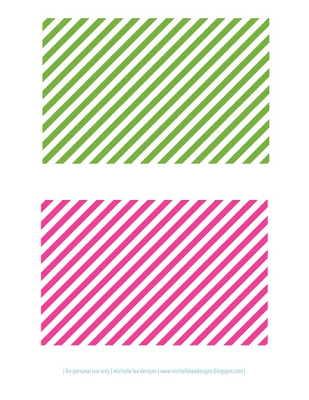
I’ve also added in a download of a contrasting paper that you can add as your first page… just for some extra bling :) Just cut it out and fold like your cover.
Download your contrasting pages here. Just click on the photo.
Now to staple your book together… we’re almost done!! I found these adorable coordinating staples at Office Depot. I’ve seen them at many other office stores.
Just staple as close to the center as you can. I did two staples, one at the top and one at the bottom
…and Ta-Da!!! You are done with the cutest little books!!!
I hope that you enjoy your books and have a wonderful week.
Such a cute idea! I would love it if you joined and contribute your awesome posts at my link party at City of Creative Dreams on Fridays :D Hope to see you there at City of Creative Dreams Link Party


Such a cute idea! I would love it if you joined and contribute your awesome posts at my link party at City of Creative Dreams on Fridays :D Hope to see you there at City of Creative Dreams Link Party
I love these books! You could use this method to make some really cute mini-books for children. Thanks for sharing.